How to display data from an API using Vue 3
In this article I'll show you a basic example of how to make an api call and then display that response on a Vue 3 application.
I recently started working as a Full Stack Developer and I am looking forward to share my experiences and to keep learning as much as I can.
Intro
In this article, we are going to build a simple Vue application. We are going to fetch data from the Breaking Bad Api, and then display it on our app.
We are going to explore some new features of the new composition api, wich in my opinion is really fun! So let's get started! 😁

Vue create
In order to start this project, we are going to need a Vue application. To do this, we run the command vue create breaking-bad-app (if you don't have the vue cli installed, you can run npm i -g @vue/cli).
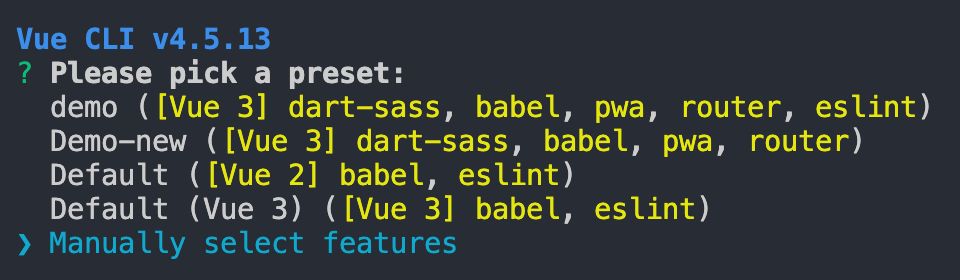
Vue is letting us choose between a project preset, or manually select features. We are going to select the latter option.
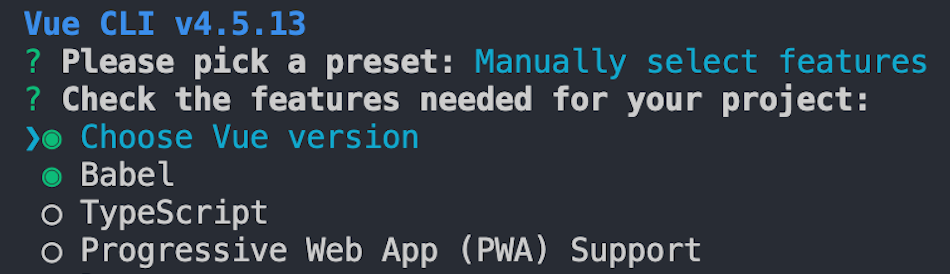
Then, we'll proceed to select the features we are going to need. For this case, we only want to have Babel (JavaScript compiler), and we want to be able to select the Vue version.
After that, we have to select Vue version number 3.

Finally, we select the option "package.json" to save all of our configs in.

We are ready to go! 🚀
Making the request ☎️
Now we are ready to make the request to the Breaking bad api, so the first thing we have to do is to call our setup option (which is where all of our code will be in) on the App.vue file. Every thing that we return from the setup will be exposed to our component ( in this case the data from the api ).
The url that will provide us with the data is https://www.breakingbadapi.com/api/characters (you can click the link, and see how the result looks like 🙌🏻)
I'll show you the code and we will go through it after
<script>
export default {
  name: 'App',
  setup() {

    fetch('https://www.breakingbadapi.com/api/characters')
        .then(res => res.json())
        .then(characters => console.log(characters));

  }
}
</script>
Here we are using the fetch method in order to request the data from the api, after that, on the first "then" method, we convert that response into a json, and then we log it on the browser.
If now you go to your browser's console, you'll be able to see the array of objects containing all the characters! ✅
After all this, we now need to store the api response somewhere, so here enters a new addition to Vue.js, the reactive method.
This method provides a reactive state to our component, meaning that the component will render every time that something inside our reactive state changes ( similar to the data method on Vue 2 ).
To make use of this method, we have to import it, as such:
<script>
import { reactive } from '@vue/reactivity';

export default {
  name: 'App',
  setup() {

    const data = reactive({
      characters: []
    })

    fetch('https://www.breakingbadapi.com/api/characters')
        .then(res => res.json())
        .then(characters => data.characters = characters);

  }
}
</script>
Our reactive state is an object, so we create the "characters" endpoint, that is where we are going to store the api response. We do this by accessing that endpoint and setting it to the results variable.
All right! We are one step away from displaying our characters on our app ⏳
At this point, we are going to use the "toRefs" method of the composition api. This method allows us to convert a reactive object to a plain object, and access it from the template.
All we have to do is import it, and then return the object.
<script>
import { reactive, toRefs } from '@vue/reactivity';

export default {
  name: 'App',
  setup() {

    const data = reactive({
      characters: []
    })

    fetch('https://www.breakingbadapi.com/api/characters')
        .then(res => res.json())
        .then(characters => data.characters = characters);

    return { ...toRefs(data) }

  }
}
</script>
Now we can iterate through all of the characters using a v-for and display their names on the screen! We use the double curly braces notation( {{}} ) to interpolate data and show it on the app.
<template>
  <div class="app">
    <div v-for="item in characters" :key="item.char_id">{{item.name}}</div>
  </div>
</template>
Notice that we do not have to do "data.characters", we already have access to the characters object thanks to the toRefs method.
That is it, you should be seeing the names of the characters of Breaking Bad on your app! 🎊


Docs
Ok, this has been a basic introduction to the Vue 3 composition api. I hope it was clear, helpful, and fun!
Thank you very much for reading! 🙌🏻